|
As blanks you can use, for instance, candles that are poured in plastic moulds:
obelisk, pyramid, stars with six
points, flames and square. The most adequate wax is type 54C. It is also possible with 56C but this breaks easier. Finished, compressed candles from the market are not suitable!
On www.candlecraftcenter.com you can find obelisk as a finished blank which is cast and therefore suitable.
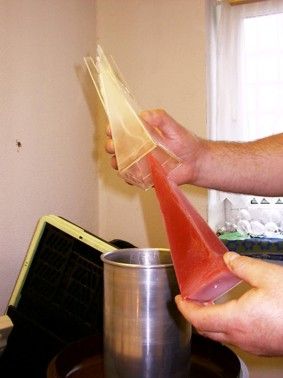
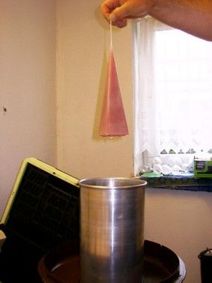
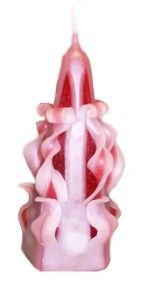
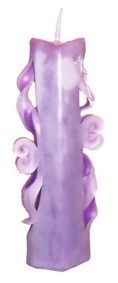
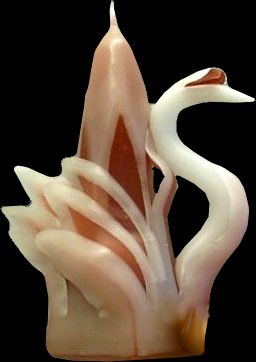
Now the candle must be covered by thick unicoloured or coloured wax layers. At the same time
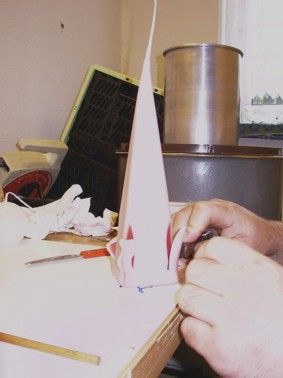
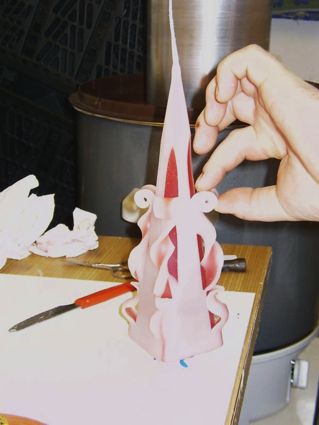
the candle has to be softened so that the splints do not break when it’s carved. You have to remember that the candle might melt again due to hot wax – be careful! The
remaining time to finish the candle afterwards depends on the depth of penetration of the heat.
Optically attractive is a thick white top coat. You can create this white colour with white pigments (www.candlecraftcenter.com wax dyes). The natural colour of uncoloured paraffin generally doesn’t cover effectively!
Method 1: dip it about 15 times in hot wax which has about 75 degrees. Remember to let it cool in between.
Method 2: dunk it for about 2 minutes in cool but barely liquid wax (without film) with a low freezing point.
Have
a try to decide which method you prefer personally.
|